How To Detect Flash Drive You Bought Is Fake
FLASH DRIVE – Determining whether the flash drive you purchased is genuine can be achieved by following these steps.
We all appreciate a good bargain, but what if that 2TB hard drive you just purchased ends up having only 50GB of storage? It happens more often than you might think. Fortunately, there’s a free tool available that allows you to verify if the product you bought matches its advertised specifications.
Enter ValiDrive, a revolutionary application designed for Windows users. In a time where the online acquisition of memory cards and external drives comes with the risk of receiving counterfeit items that fall short of their promised capacities, ValiDrive serves as a protective measure.

This software features a 576-region spot-check tool, proficient in evaluating the readability, writability, and actual storage capacity of any USB storage drive. Whether it’s a compact thumb drive, a memory card, or an external hard drive, ValiDrive ensures that you receive the storage capacity you paid for.
Here’s how to make the most of ValiDrive:
1. Begin by downloading ValiDrive to your Windows PC. Unfortunately, for now, this tool is exclusively available for Windows users. Click the “Download now” button on this page to get the program.
2. Once the file is saved on your PC, open it. You’ll see a User Account Control button. Click “Yes” to initiate the tool.
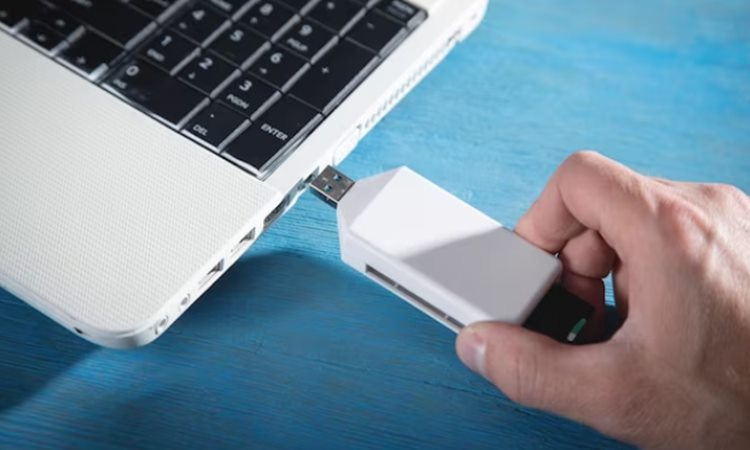
3. Connect the flash drive to your PC’s USB port. Note: If the drive was connected before opening ValiDrive, remove and reinsert it to ensure accurate recognition by ValiDrive.

ValiDrive will now present the declared size of the drive. To initiate the verification process, click on Validate THIS drive. Upon completion of the test, a map will be displayed with results color-coded in green, blue, yellow, and red, indicating the following:
1. Validated – The original data in the region was read, random noise data was written, then read again, and the original data was successfully replaced. No errors were reported throughout the process, confirming the integrity of storage at the tested location. ValiDrive highlights this outcome in green.
2. Read Error – If the drive encounters difficulty during either of the two read operations (reading the original data or reading the random noise test data), a blue indication is given. This occurs when the drive reports an inability to perform the read successfully, hindering the validation of storage in that specific location.
3. Write Error – A yellow result signifies that, during either of the two write operations (writing random noise test data or replacing the original data), the drive reported an unsuccessful write operation. This hampers the validation of storage at the indicated location, and ValiDrive marks this occurrence in yellow.
4. No Storage – In cases where the original data is read, random noise data is written, and despite the absence of errors, the test data does not match what was written upon reading. ValiDrive marks this situation in red, indicating that, at the tested location, the drive is not storing data and is not reporting any errors.
To exit the map, click the Close button. The subsequent screen provides a detailed report summarizing the drive’s access time statistics and furnishes additional information regarding ValiDrive’s interaction with the drive.
