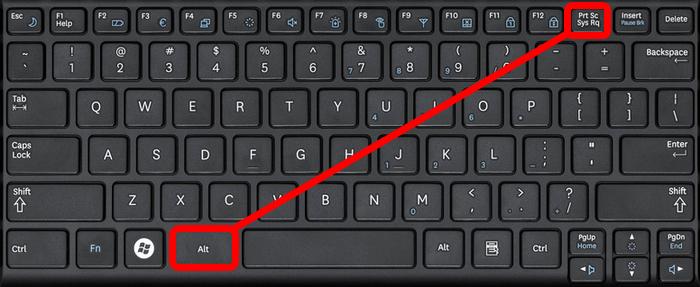
How To Take Screenshot In A Windows Or Mac Laptop
SCREENSHOTS – Taking a screenshot in a windows or mac laptop is simple and takes a few easy steps. Here’s how you do it.
Most Windows based laptops have a built-in screenshot key in the keyboard labeled as “PrtScn” or print screen. Simply click the key and it will take a screenshot of whatever is showing in your screen.

If that doesn’t work, another option for windows 10 users is to hold the Windows Key + Shift + S. After clicking the keys, the screen will dim and show a changed mouse pointer. From there, drag to select a portion of the screen you want to screenshot.
Afterward, the screenshot will be copied to your clipboard. Then, you can paste the copied screenshot to an application of your choice. However, this can only work for Windows 10 with the “Creators Update”.
Meanwhile, an easier way to do this is to use the “Snipping Tool” from the start menu. To use this, go to the start menu and type in “Snipping Tool“.

Once opened, the snipping tool will give you options such as New, Mode, and Delay. To get a regular rectangle-shaped snip, click on mode and choose rectangular snip. There’s also a window snip that lets you select a specific window you want to screenshot. Additionally, there’s a full-screen snip that let’s you screenshot everything on screen.

To take a new screenshot, just click on “New” and you can begin selecting the area you want to screenshot.
After taking the screenshot, you now have an option to save the snip to a folder of your choosing.

Meanwhile, for Macs, you need to press and hold three keys together: Shift + Command + “3”.

To capture the portion of the screen, simply press and hold Shift + Command + “4”

By default, screenshots save to your desktop with the name ”Screen Shot [date] at [time].png.”
READ ALSO: Adjusting Brightness In Laptop – How To Make Laptop Brighter/Dimmer
